You can create a course that only tests on images. Please follow the instructions below to create one:
1. Log in on web, select 'Courses' at the top of your Dashboard, and click on 'Create a course'. Fill out a few details (Title of the course, what you are teaching, etc.)
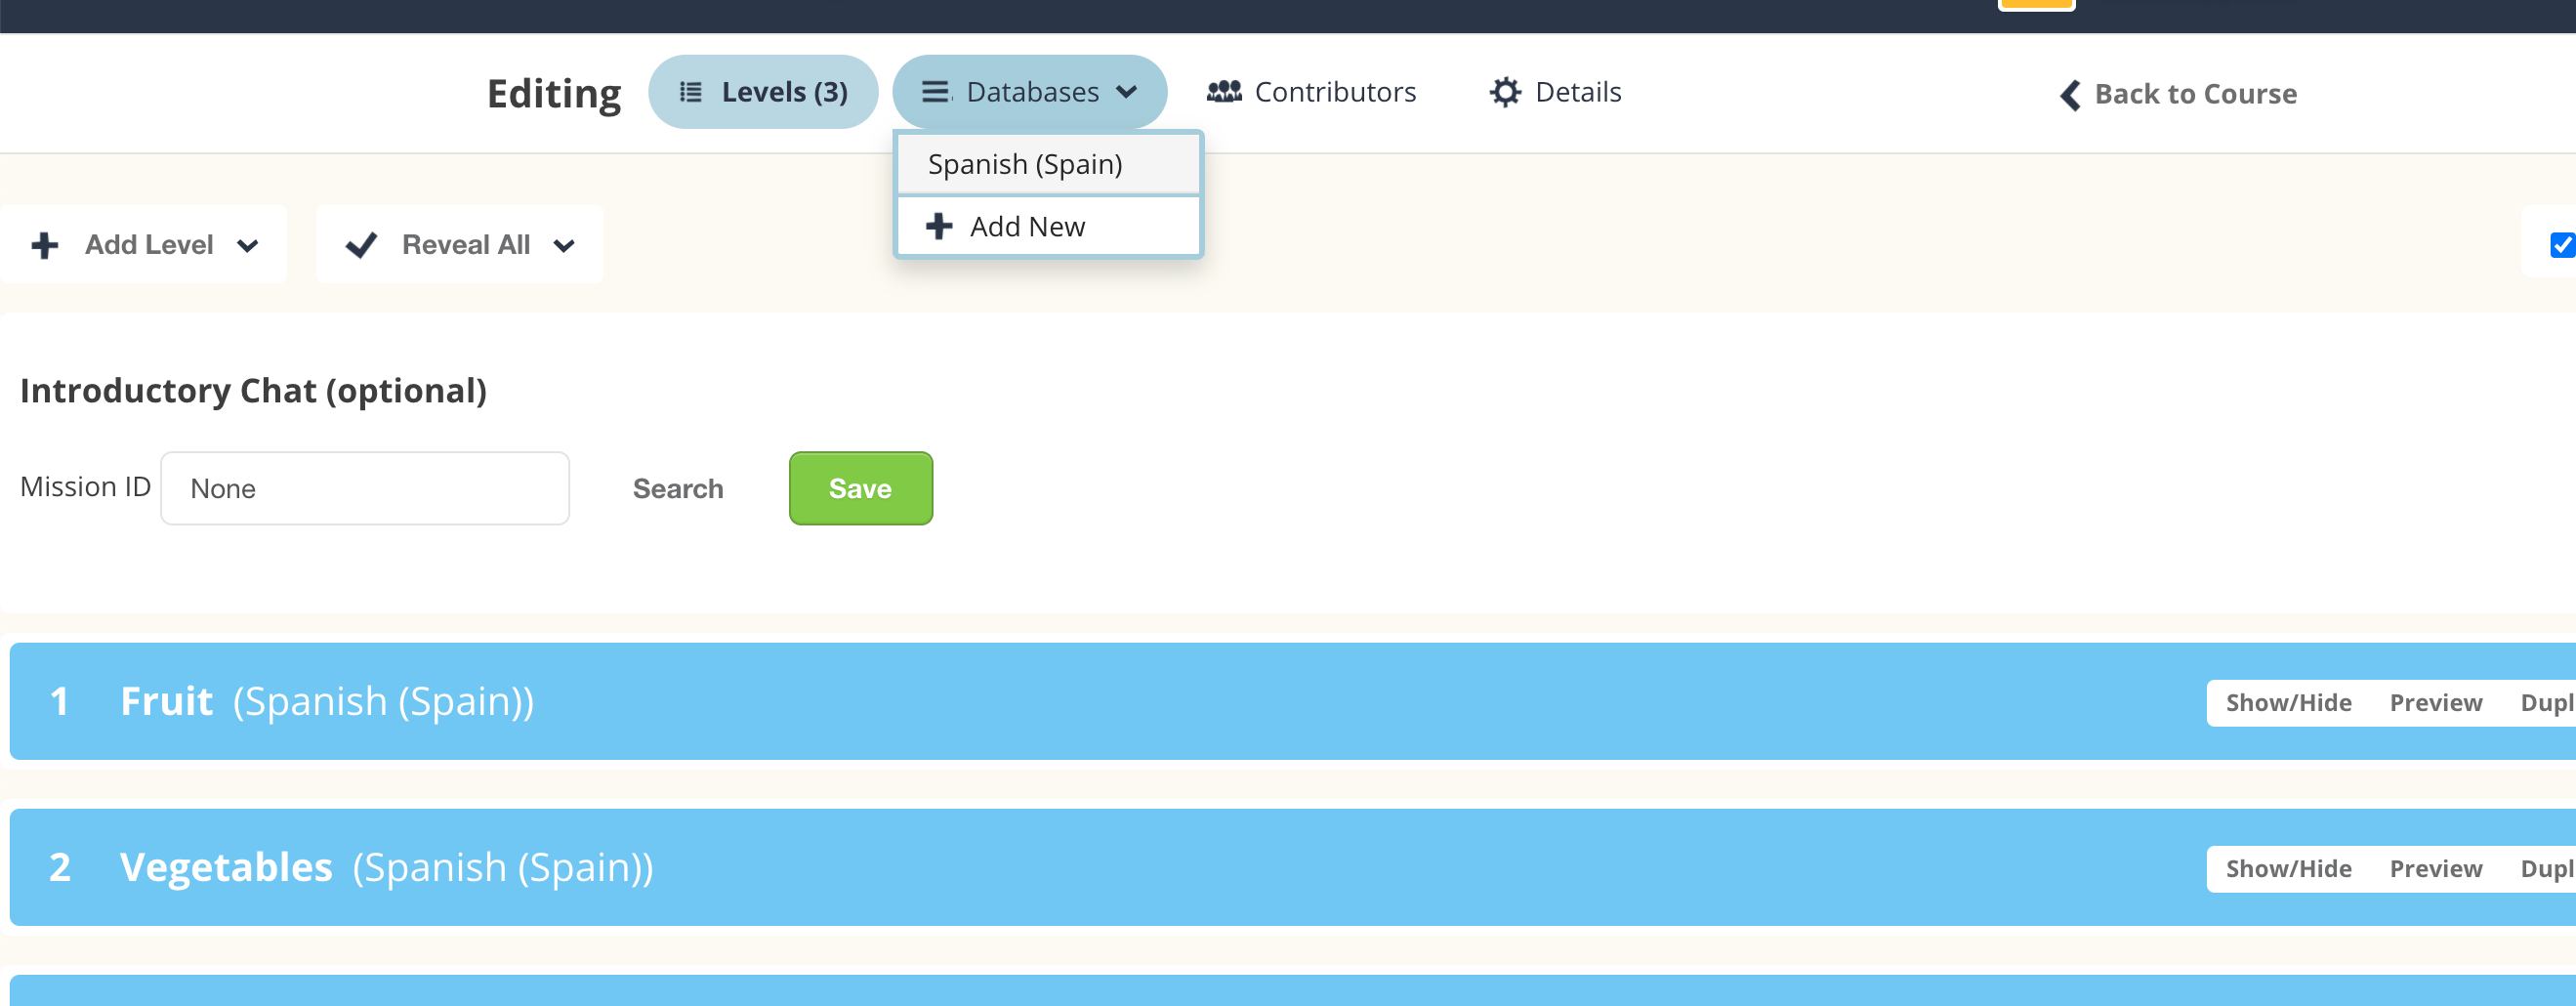
2. Go to the 'Edit' page for your course, click 'Databases' and then select the database that you wish to add images to. Please note: if your course only has one level, you'll have to add a new level to reveal the Databases tab. Alternatively, click on the 'Advanced' button at the right of the screen and click on 'Add column'.
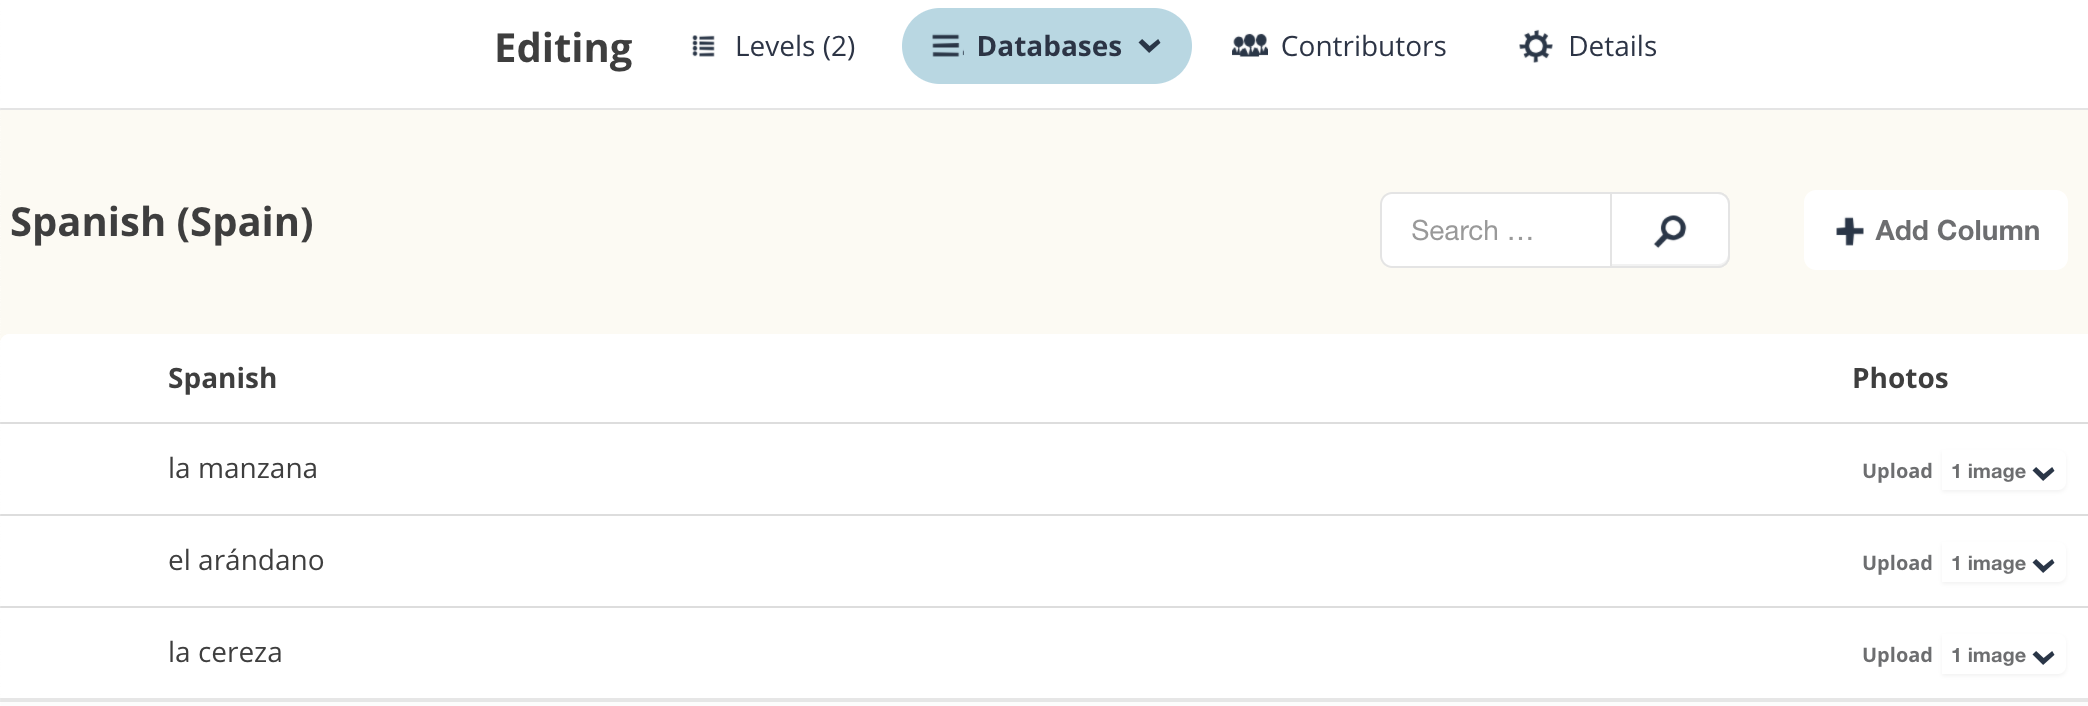
3. Click 'Add Column'. Give the column a name and and select 'Type> Images' and click 'Add'; a new column will be created. You can add your images by clicking on Upload. Note that you will need to add text items before being able to add pictures: enter the 'Word' or its 'Definition' and then click on the + button on the left. Once you have added the item, you will be able to upload a picture in the corresponding column.
4. If you only need to have the image column and a text column, you can delete the rest of the columns by clicking on their names and then selecting 'Delete' in the pop-up window. Don't forget to tick the 'Yes, I'm sure' box and confirm 'Delete this attribute'.
6. Enter all items and pictures you need, and click 'Save and continue' when you're done!
Please note: All images uploaded will be displayed in one fixed size, there is no way of making images bigger or smaller.